Have you ever wanted to bake a loaf of bread that’s crusty on the outside and soft on the inside? Look no further than this classic Ciabatta recipe. It’s a straightforward way to bring a taste of Italy right into your kitchen. With just a few simple ingredients, you’ll create something that’s perfect for sandwiches, bruschetta, or simply dipping in olive oil. Trust me, once you master this bread, you’ll find excuses to bake it every week.
This Ciabatta is not just any bread; it’s a testament to the beauty of simple ingredients. The dough is easy to work with, and the end result is incredibly rewarding. You’ll love the crisp crust and the airy, chewy texture that makes it irresistible. Perfect for any occasion, this bread will have your family and friends coming back for more.
Overview of Ciabatta Bread
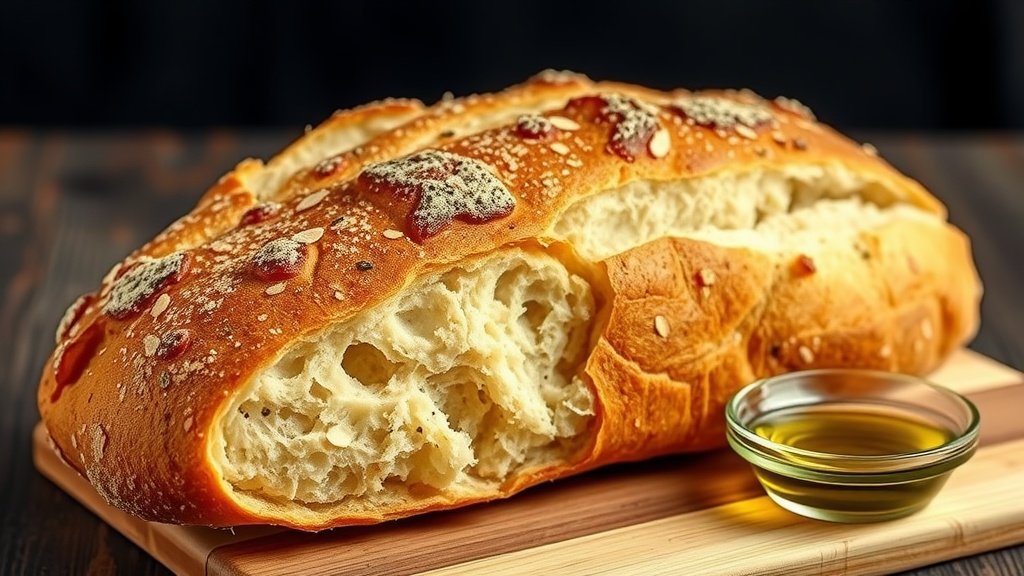
Ciabatta is more than just a loaf of bread; it’s a delightful expression of Italian baking tradition. Renowned for its rustic charm, this bread features a chewy texture and an airy crumb that captivates the senses.
The appearance of ciabatta, with its golden-brown crust and slightly open structure, suggests a comforting familiarity. It’s perfect for a variety of culinary uses, from hearty sandwiches to simple dips in olive oil.
The Characteristics of Ciabatta
This bread is characterized by its unique structure and flavor profile. The crust is crispy and robust, providing a satisfying bite, while the interior remains light and airy.
Ciabatta’s neutral flavor makes it an excellent companion for various toppings and spreads, enhancing any meal. Its versatility is one of the reasons it has become a beloved staple in many kitchens.
Baking Process Explained
The journey of baking ciabatta begins with a simple mixture of flour, water, salt, and yeast. These ingredients come together to form a sticky, yet manageable dough that is crucial for achieving that signature texture.
After a period of rising, the dough is shaped into loaves, allowing it to expand further. The second rise is essential to develop the airy crumb that makes ciabatta so appealing.
Creating the Perfect Crust
Getting the crust just right is key to a successful ciabatta. Preheating the oven and using a baking stone or inverted sheet ensures that the bread bakes evenly and develops a beautiful crust.
Baking until golden brown not only enhances the flavor but also creates that satisfying crunch that contrasts beautifully with the soft interior.
Enjoying Your Ciabatta
Once baked, allow the loaves to cool before slicing. This resting period helps maintain the structure and texture of the bread.
Ciabatta is perfect for sharing. Serve it with a bowl of olive oil, perhaps infused with herbs, inviting everyone to dip and enjoy. The warm, rustic appearance of the bread paired with the inviting aroma creates a delightful atmosphere for gathering around the table.
Why Bake Ciabatta?
Baking ciabatta at home offers the chance to experience the joy of fresh bread. The process is straightforward and yields stunning results that are sure to impress.
Moreover, mastering ciabatta can boost your confidence in the kitchen. With each loaf, you’ll refine your skills and create something truly delicious, perfect for any occasion.
Easy and Delicious Ciabatta Bread
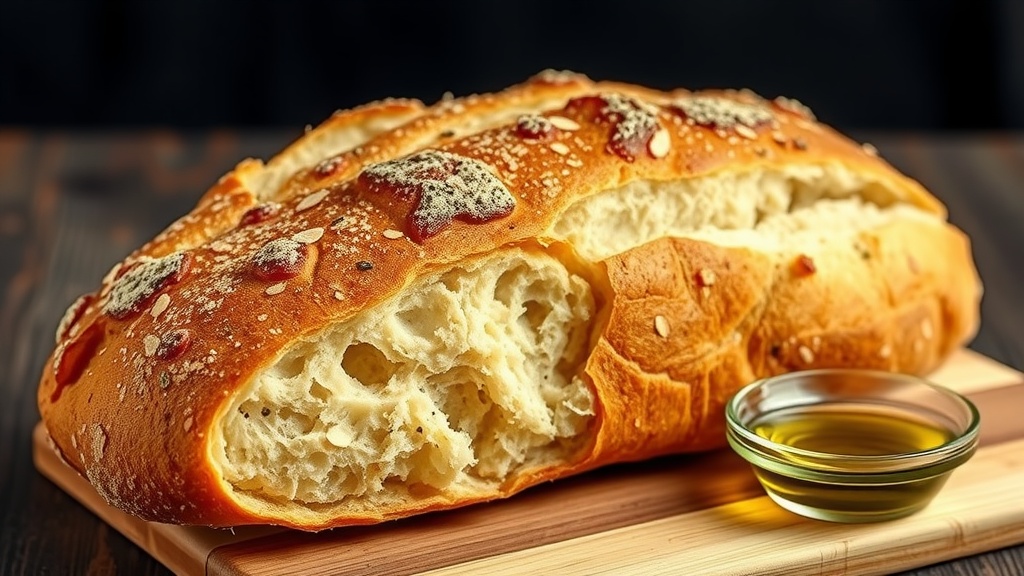
This Ciabatta bread is characterized by its rustic, open crumb structure and a crispy crust. It has a mild flavor that pairs beautifully with a variety of toppings, making it a versatile addition to any meal.
Ingredients
- 4 cups all-purpose flour
- 2 teaspoons salt
- 1 1/2 teaspoons active dry yeast
- 1 3/4 cups warm water (about 110°F)
- 2 tablespoons olive oil (optional)
Instructions
- Mix the Dough: In a large bowl, combine the flour, salt, and yeast. Gradually add the warm water, mixing until a sticky dough forms.
- Knead the Dough: Transfer the dough to a floured surface and knead gently for about 5 minutes. The dough should be slightly tacky but manageable.
- First Rise: Place the dough in a lightly oiled bowl and cover with a damp cloth. Allow it to rise at room temperature for about 2 hours, or until doubled in size.
- Shape the Bread: Gently deflate the dough and turn it out onto a floured surface. Divide it into two equal pieces. Shape each piece into a rectangular loaf by folding and stretching gently.
- Second Rise: Place the shaped loaves on a floured baking sheet. Cover loosely with a cloth and let rise for another hour.
- Preheat the Oven: While the bread is rising, preheat your oven to 450°F (230°C). Place a baking stone or an inverted baking sheet in the oven to heat up.
- Bake the Bread: Carefully transfer the loaves onto the hot baking stone. Bake for 20-25 minutes, or until golden brown and crusty. The bread should sound hollow when tapped on the bottom.
- Cool: Remove the loaves from the oven and let them cool on a wire rack before slicing.
Cook and Prep Times
- Prep Time: 15 minutes
- Rise Time: 3 hours
- Bake Time: 25 minutes
- Total Time: 3 hours 40 minutes
- Servings: 2 loaves
- Calories: 130kcal per slice
- Fat: 0.5g
- Protein: 4g
- Carbohydrates: 27g


